Chained in Backrooms Level Difficulty Tier List
Which stages wipe parties — and which ones teach the chain.
How this difficulty list works
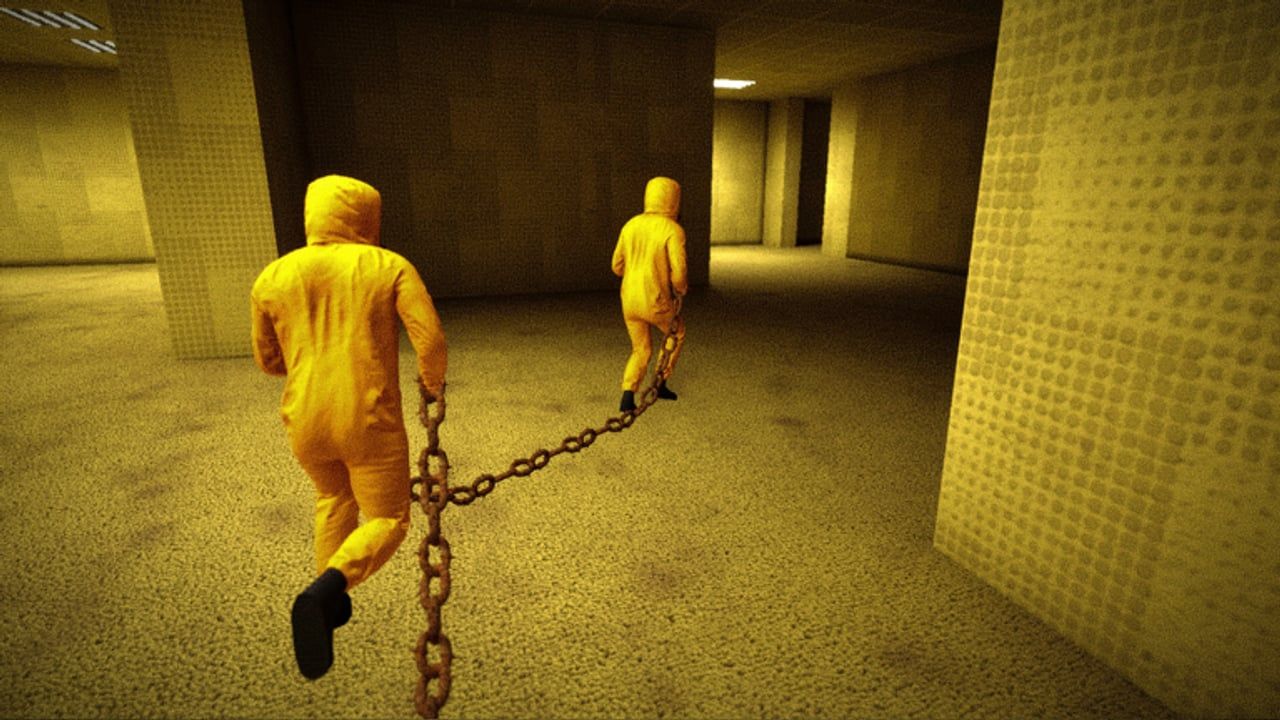
This ranking measures party pain in Chained in Backrooms: wipe frequency, coordination demand while chained, and how unforgiving a single mistake feels. It is not a lore ranking and not a “scariest vibe” chart. A quiet maze can feel eerie yet sit lower because the chain has recovery room; a short Glass Bridge attempt can sit in S because spacing errors drop multiple players at once.
Play with 1–8 players tethered together. Larger parties amplify both safety nets and chaos — more people can catch mistakes, but more links mean more accidental yanks. Pair this page with Team Roles and the Team Ready Checklist before climbing into S-tier rooms.
S tier — expect resets
Glass Bridge
Transparent or deceptive footing plus chain tension makes this a classic wipe magnet. The front player must probe carefully while middle and back resist the urge to “help” by pushing. Call every safe panel out loud. If someone falls, decide instantly whether to reset or attempt a clutch depending on remaining lives / checkpoints.
Practice tip: Rehearse slow synchronized steps in a lobby or easy obby first. Speedrunning Glass Bridge with strangers is how friendships end.
Boss encounters
Boss rooms layer attack patterns on top of limited movement. Someone must watch telegraphs while others keep the chain from wrapping around pillars. Revive timing matters; panic sprinting into the boss hitbox drags allies in. Scripts that auto-revive (see warnings on Scripts) remove the lesson — learn spacing instead.
Practice tip: Assign one caller for boss tells and one for chain slack. Split brain roles beat everyone shouting.
Simon Says / color memory stages
Wrong color, wrong timing, or moving when the prompt did not say “Simon says” fails the group. The chain prevents lone-wolf fixes — if one person steps early, everyone feels it. These rooms punish distracted mics and meme spam.
Practice tip: Mute music, stare at the prompt board, and let one person repeat the sequence before anyone moves.
A tier — high coordination, still learnable
Dense arcade / mini-game clusters
Arcade cabinets, timed button sequences, and score-style objectives force the party to park the chain without blocking interact prompts. Item confusion is common; review Items so two people do not fight over the same machine.
Train / moving hazard corridors
Moving kill volumes punish late crossings. Front counts the gap; back confirms the last player cleared. Middles manage slack so nobody is stretched into the hazard mid-count.
Stacked puzzle + light chase
When entities pressure you during a lever sequence, difficulty spikes. Use Entities tells (audio, light flicker) to decide fight, hide, or burst the objective.
B tier — solid mid-game tests
Mixed platforming with readable routes, Red Light / Green Light style stop-move games with clear signals, and tower climbs that are tall but fair land here. New parties should still brief roles, but one calm clear is realistic after a single practice death.
C–D tier — warmups and teaching tools
Standard parkour stretches, guided corridors, and shorter puzzle rooms belong here. Use them to teach pull etiquette, jump timing, and callouts before S-tier content. If your public lobby cannot clear a C-tier obby without screaming, do not queue Glass Bridge yet.
F / onboarding tier — Maze & simple Obby
Escape the Maze (and similar labyrinth openers)
Early maze sections introduce liminal Backrooms vibes and light objectives without maximum fail cost. Getting lost wastes time more than it wipes skillful parties. Perfect for explaining “don’t stretch the chain around corners.”
The Obby (basic)
Tutorial-grade jumps and climbs sit at the bottom of the pain chart. Treat them as calibration: camera sensitivity, sprint habits, and who prefers Front. Deltia-style beginner writeups often call out Maze and Obby as early structure — lean on them before chapter bosses.
Full snapshot table
| Tier | Stages (examples) | Primary fail mode |
|---|---|---|
| S | Glass Bridge, Boss fights, Simon Says | One mistake = group fail |
| A | Arcade clusters, Train hazards, chase+puzzle | Timing / communication |
| B | Tower climbs, stop-move games | Patience |
| C–D | Standard routes, short puzzles | Minor desync |
| F | Maze, simple Obby | Mostly navigation |
Recommended clear order for new stacks
- Claim Free Rewards and skim Getting Started.
- Assign roles via Team Roles.
- Clear Maze / Obby warmups without rushing.
- Move into B/A content with mics on.
- Schedule Glass Bridge / Boss / Simon as intentional attempts, not surprise public pubstomps.
- After wipes, note whether the cause was role confusion, entity pressure, or greed — then retry.
Patches and reranking
Musta and Alexander still update the experience (see Updates and Launch Notes). If a boss is nerfed or a bridge layout changes, placements can slide. We will adjust this list when community wipe patterns shift. Avoid “script clearing” S-tiers — it teaches nothing and risks accounts.
Return to the Tier List Hub for role rankings, or jump to Wiki Links for the official Roblox place when you need to relaunch a clean server.
Frequently Asked Questions
Quick answers to the most common questions.
What are the hardest levels in Chained in Backrooms?
Glass Bridge, Boss encounters, and Simon Says usually sit in S tier because one mistake can fail the entire chained party.
Which levels are best for beginners?
Maze and basic Obby stretches are the gentlest places to learn chain etiquette before harder coordination rooms.
Does party size change difficulty?
Yes. More players can help recover, but more chain links also create more accidental pulls — brief roles either way.
Should we skip S-tier stages?
Do not skip forever, but warm up on easier tiers first and attempt S-tiers with a ready checklist and clear callers.